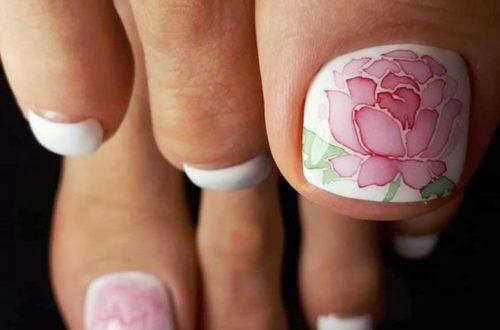
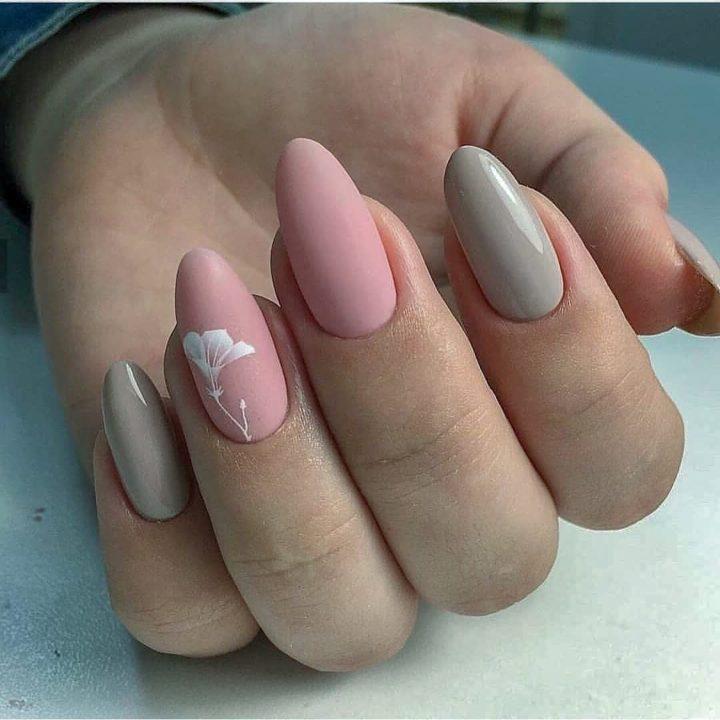
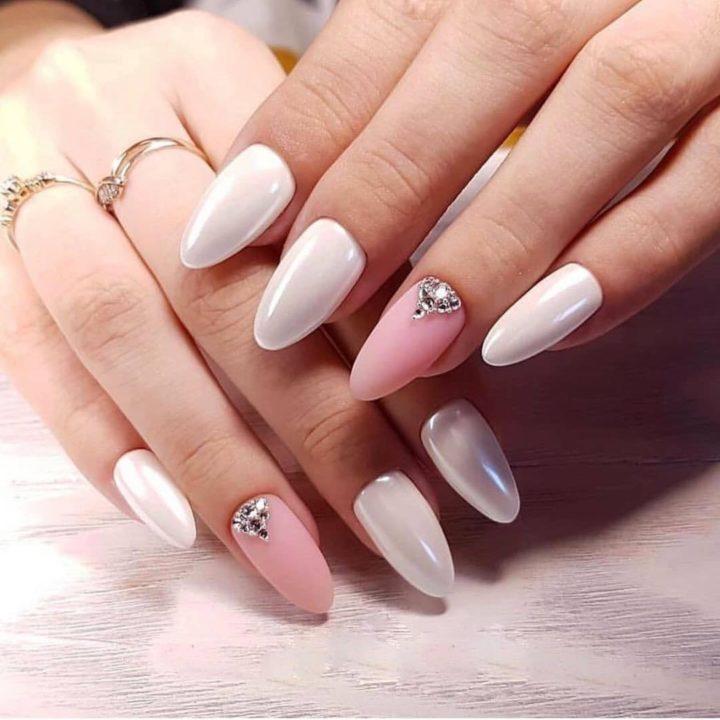
How to build gel nails at home?
Beautiful, long nails are what every woman desires. A manicure on such nails always looks beautiful, well-groomed and dignified, so many women build their nails with gel. At the moment, a similar service can be offered by different nail service masters, but there is also an easier and cheaper way to make beauty - to build nails at home.
Content:
Features of gel nail extension
The most important thing to understand before starting building is that we are talking about a gel for creating artificial nails, and not about acrylic. In specialty cosmetic stores, there is a choice between gel and acrylic powder, where both types are suitable for nail extension. But in our case, we need exactly the gel, since working with acrylic is much more difficult and not so profitable.
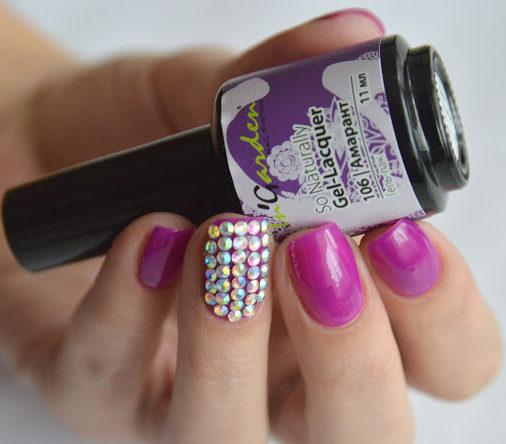
Extending nails with gel
To grow your nails at home, you will need tools and materials. There are also several ways of nail extension, where shapes and tips are distinguished. We will describe and explain both methods, and you can choose the best one for you.
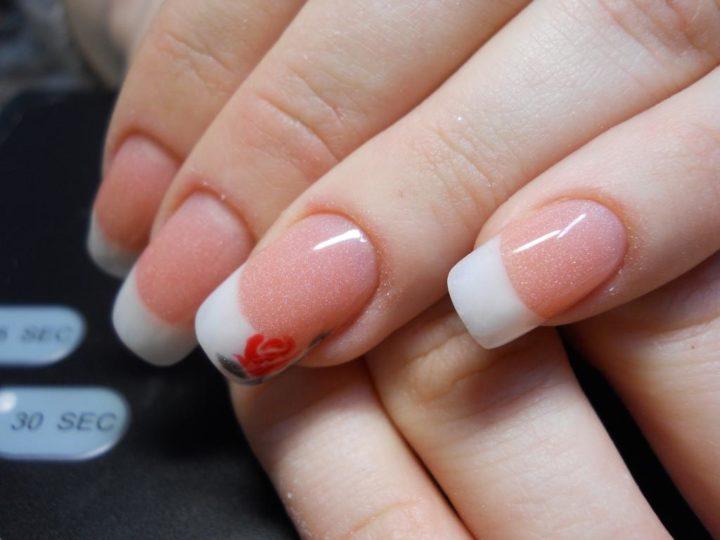
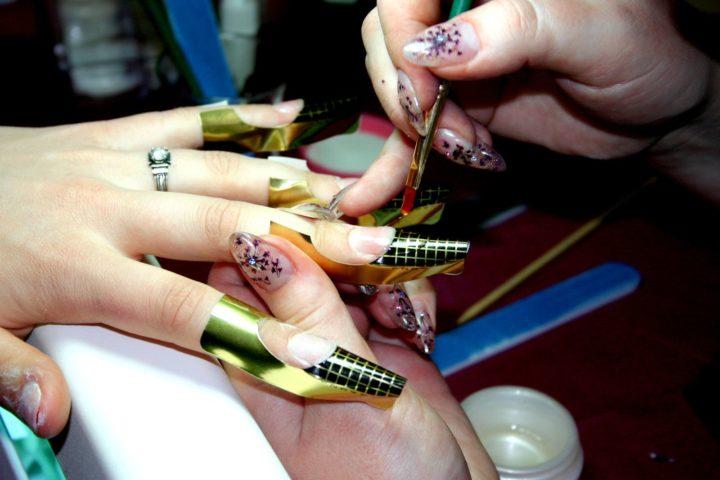
Extension of nails with gel on forms
What you need for building:
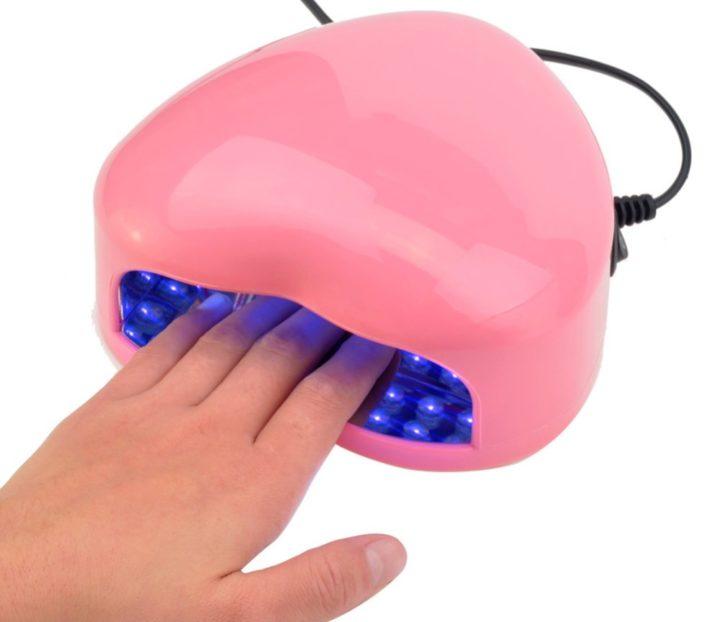
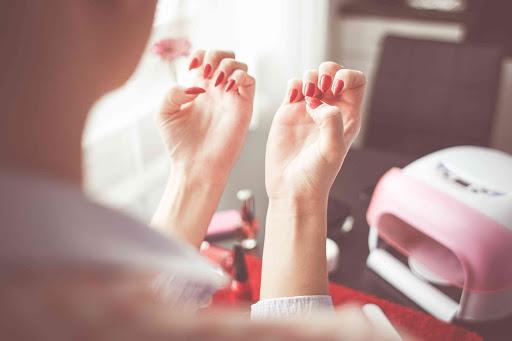
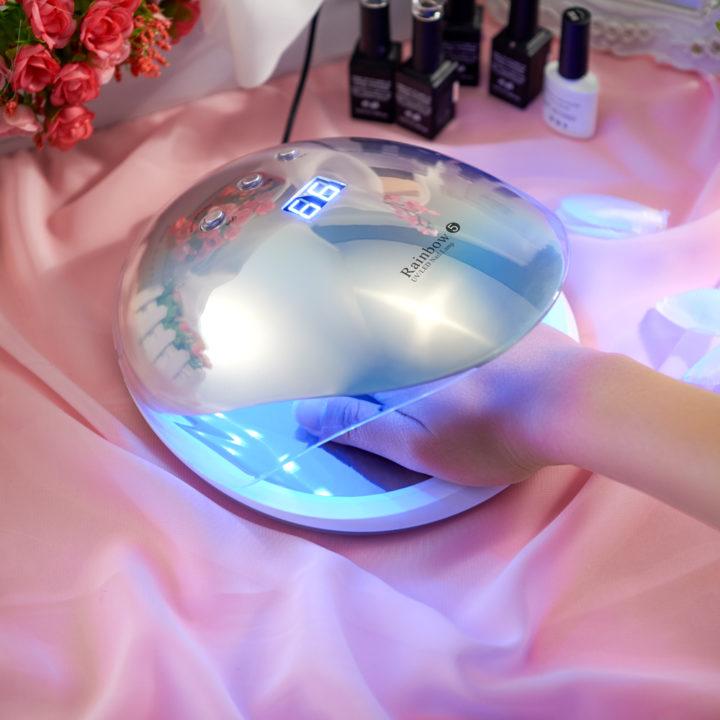
- LED lamp;
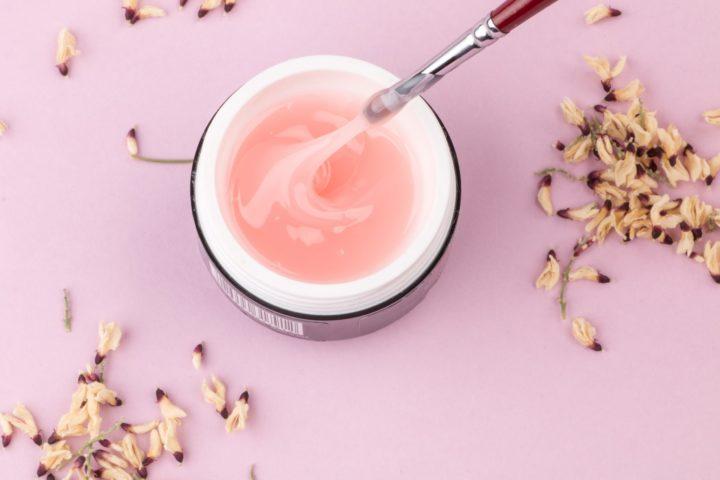
- Gel for nail extension - transparent and camouflage;
- Primer;
- Base;
- Liquid for removing the sticky layer;
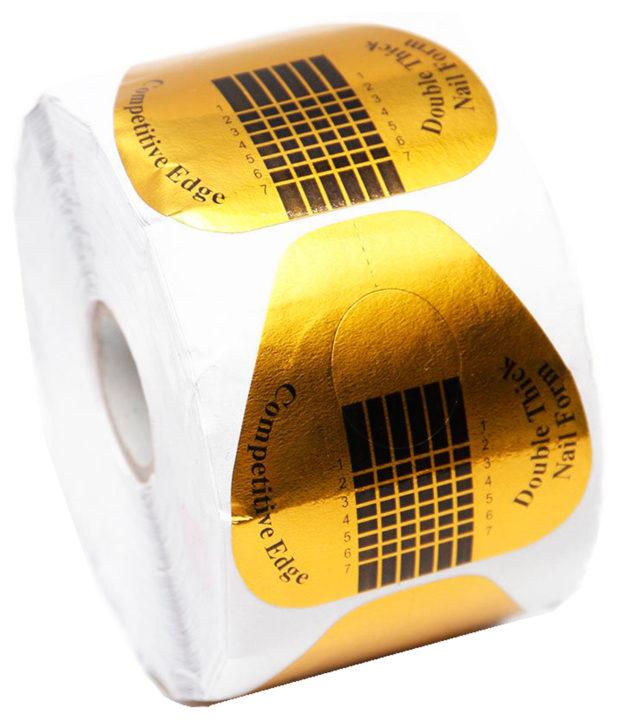
- Forms - paper;
- Flat bristled brushes.
Building process:
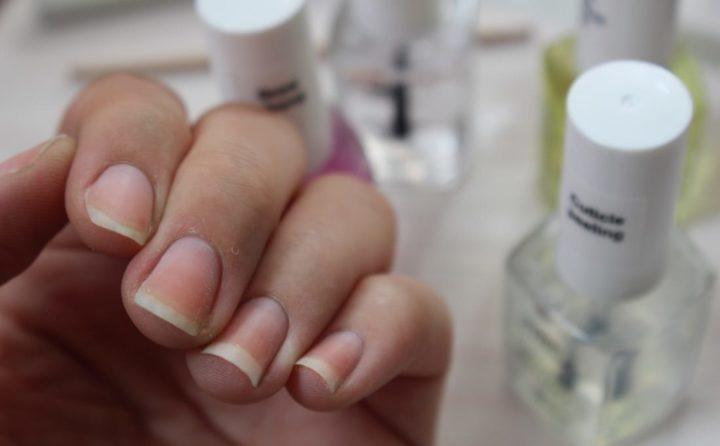
Initially, your nails need to be prepared for extension, and this is done by a manicure. Read in our other article on how to do trim manicure at home. But remember that we do not cut the nails to the end, you need to leave a little so that the gel has a base and the extended nails turn out to be more successful.
When the manicure is ready, we take our forms and cut off single molds for each nail from the strip and put them on so that the edge of the form is clearly and tightly pressed against the skin under the natural nail.
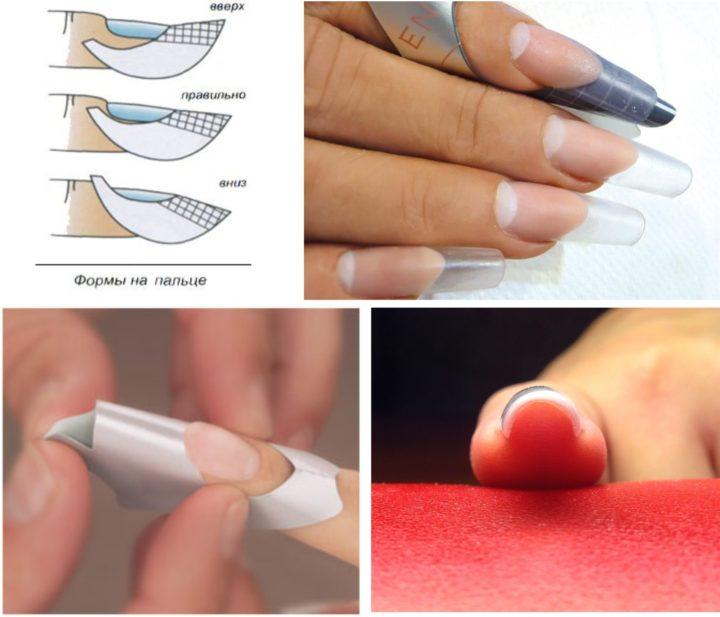
The mold should fit snugly against the skin under the nail so that there is no gap. It has a scale for the length of the nail, where you can choose any.
Next, we apply a layer of primer to the nails and give it a drying time of 1 minute. After that, it is the turn of the base, where the product must be applied in a thin layer and dried in a lamp for 30 seconds.
On a flat brush, we collect a small amount of transparent gel and spread it in the center of the nail and gently distribute it to the sides and to the cuticle. (That is, only the nail itself is covered with the gel, but not the shape). Dry in a lamp for 30-60 seconds.
Next, apply the gel with a new layer, where you can already take more gel. Here, the gel must be put in the bulk on the place where the shape and the nail merge and stretch further along the shape, up to the mark that is your optimal nail length. Dry in a lamp for 60 seconds and remove the molds.
We file the edge of the nails, give them the desired shape and smooth out irregularities on the surface. Then we remove the dust and wipe the nails with a cotton swab dipped in a liquid for degreasing.
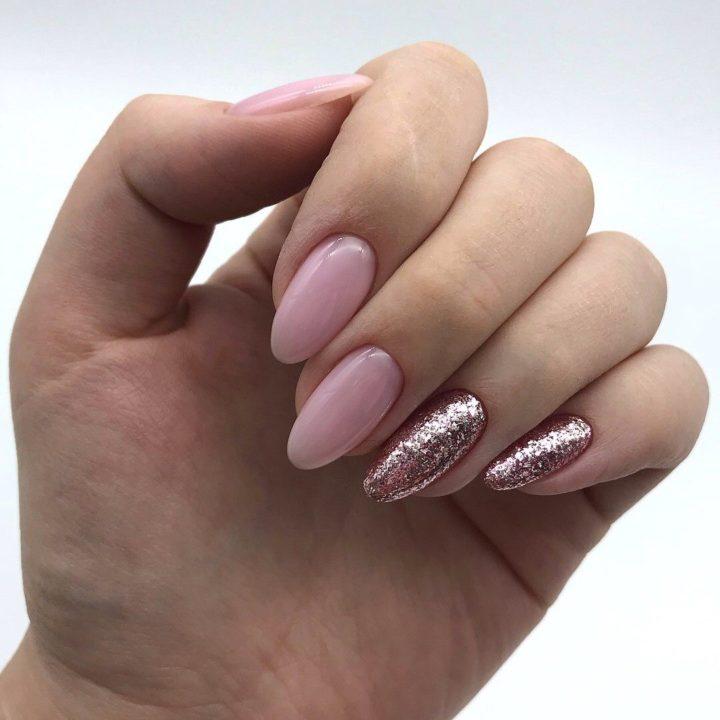
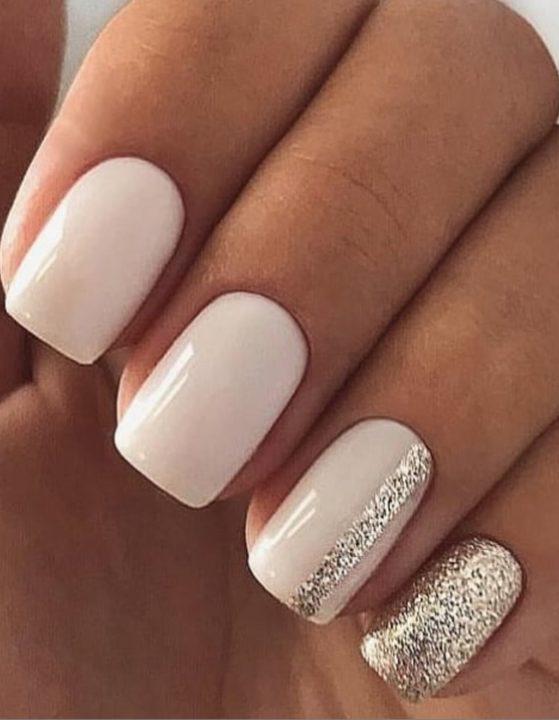
A camouflage gel will act as a leveling coating, which will hide all the flaws. It is applied to the center of the nail and spread with a flat brush over the entire surface of both the native and the artificial nail. Dry in a lamp for 60 seconds. Then you can cover your nails with any varnish and the extension is ready.

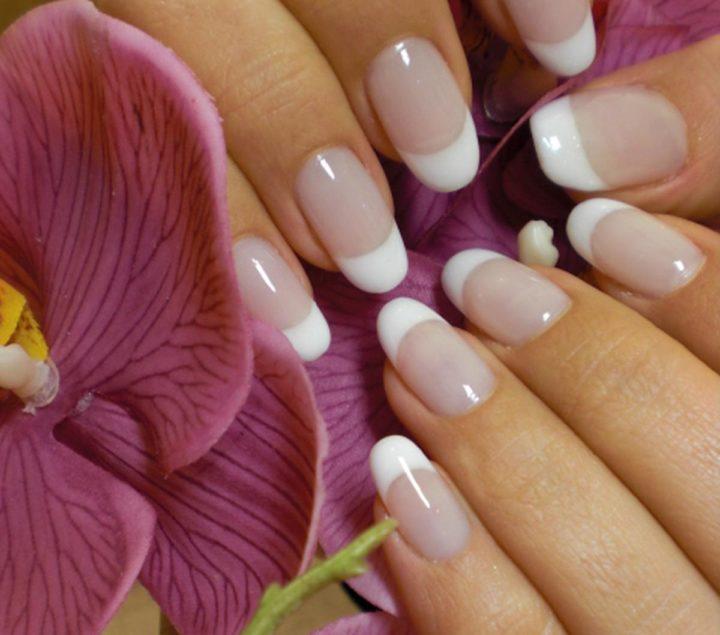
Extending nails to tips
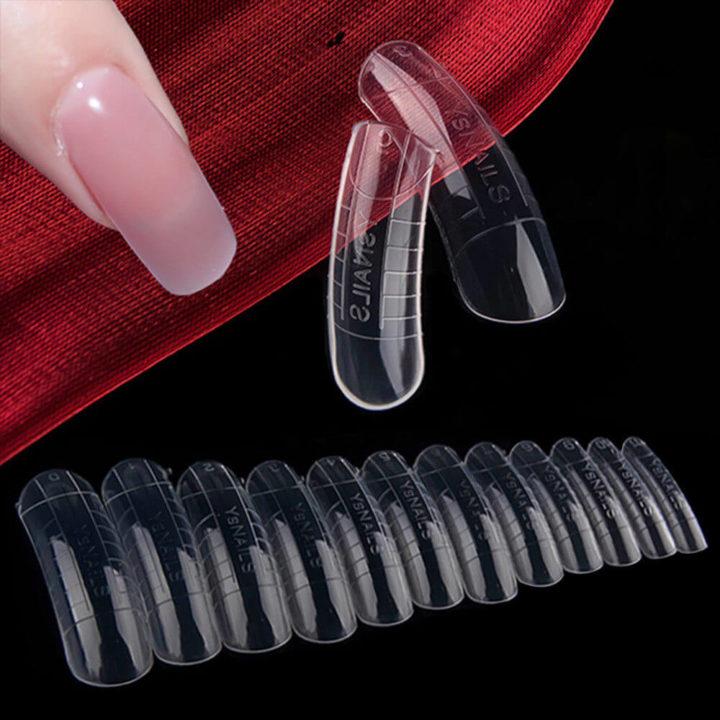
What you need for building:
- Tips set;
- Base;
- Primer;
- Extension gel;
- Liquid for degreasing nails (acetone can be used);
- Glue for tips;
- Abrasive file;
- Tip cutter;
- LED lamp.
Building process:
Before building on tips, the nails should also be put in order by making a manicure.Next, we take tips, which may already be of a certain size, or standard, where they will need to be cut. Choose from a pack of tips for each nail, from thumb to little finger, and move on to the next step.

We degrease the nails, and then we apply a primer to them, give time to dry and go to the tips. Take the glue and squeeze a little on the tips in the middle of the side that you will press against the cuticle of the nail.
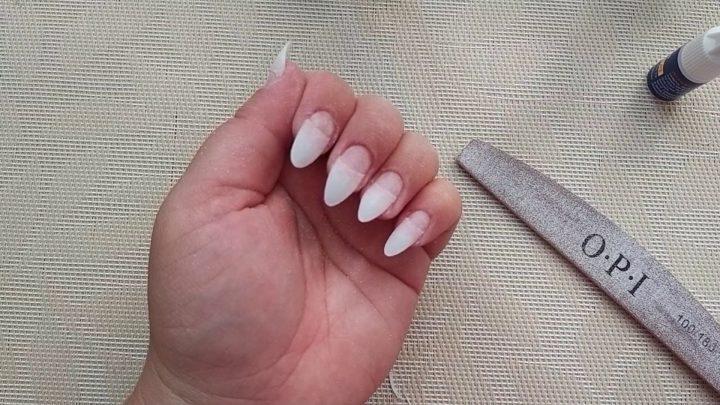
Spread the glue and glue the tips to the nail, smoothing it well on top to apply even pressure on the entire area and the tips adhere better. Leave it on for 60 seconds to dry the glue.
With the help of a tip cutter, you need to cut off the excess from the tip and leave the length that suits you best. The edge of the saw cut must be properly sanded with a nail file and given the desired shape. Next, degrease the surface and apply a thin layer of base on them, which is then dried in a lamp for 30 seconds.
Next, we apply camouflage gel to the nails and evenly distribute it, first in the area of our nail, and then the edge of the extended tips. Try to distribute the gel evenly so that there are no defects after. When the gel is applied, the nails must be cured in the lamp for 60 seconds.
Next, remove the sticky layer and paint the nails at your discretion!
Benefits of home extension
- Price - you will spend money once to buy the material, but after that it will be enough for you for a long time, so you will not have to spend;
- The ability to build up nails at any time convenient for you;
- An unlimited supply of ideas and possibilities.
Disadvantages of home nail extension
- To make a high-quality and beautiful building at home, you will have to fill your hand, and for this the first times will inevitably come out unsuccessful;
- A laborious process that will take time and patience;
- If the extension technique is violated, the nails can quickly come off, crack and break. The native nail plate is also damaged;
- In order to remove the gel from the nails, you need a special machine - a milling cutter, but it is very expensive, so you will have to go to a salon.