How to do nail extension at home - two universal ways
We are women, we always want to have a beautiful and well-groomed manicure. But sometimes we simply cannot visit a specialist in the salon for various reasons. Thanks to our article, you can build your own nails at home. We will talk about two different methods, as well as the pros, cons and intricacies of the procedure.
Content:
Important rules
In order for your build-up to be successful, you should definitely follow the rules below:
- Do not cut your nails to the root, because for full extension they must be at least a millimeter in length.
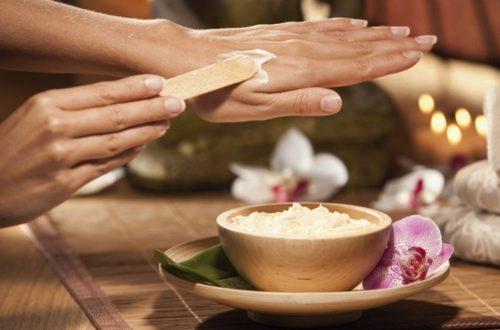
- It is always worth treating the nails and removing the cuticles before building up. To find out how to do a trim manicure, you can read about it. here.
- Refrain from taking baths, showers, swimming pools, and trips to bodies of water about half a day before the start of the procedure.
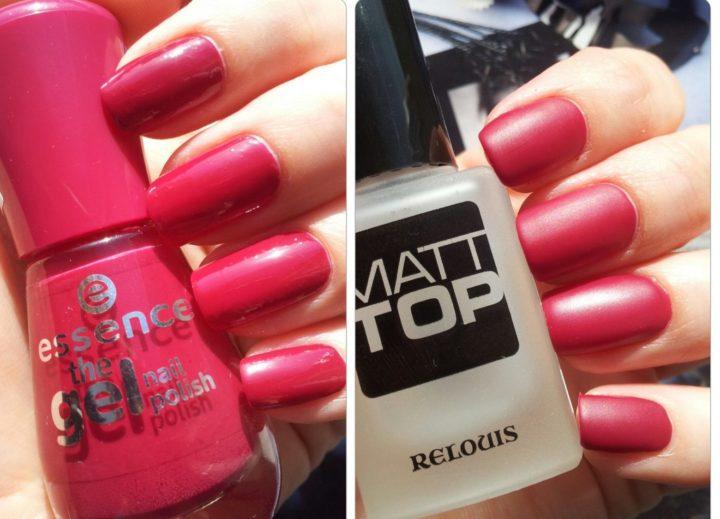
Gel or acrylic?
To begin with, you should always decide what kind of material you will work with. There are two ways: acrylic and gel. Let's consider each of them in more detail:
Acrylic - This is a composition obtained by mixing powder and monomer, and only in this case it begins to harden. The disadvantage of acrylic is that it is quite difficult to work with it, and it also has a specific smell.
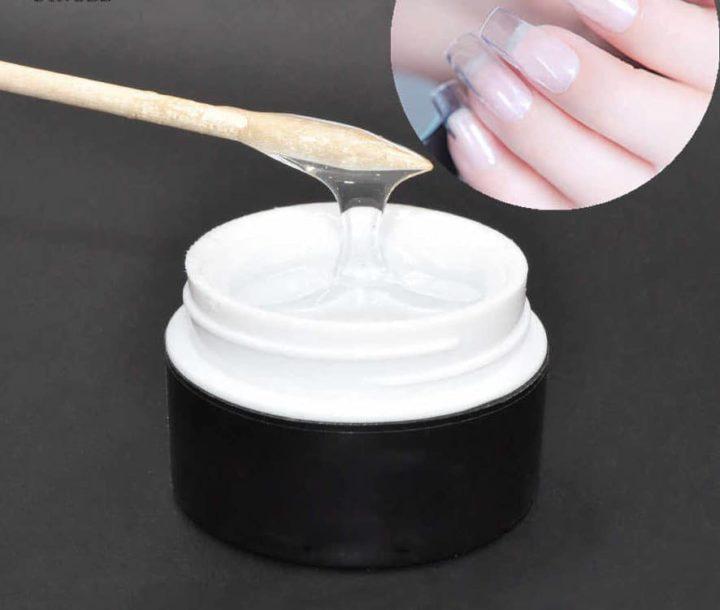
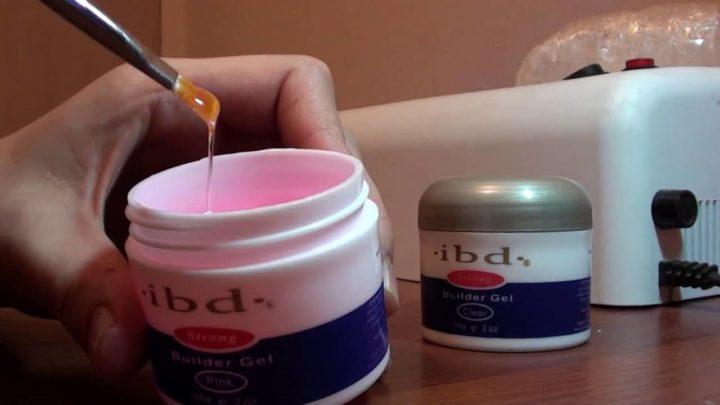
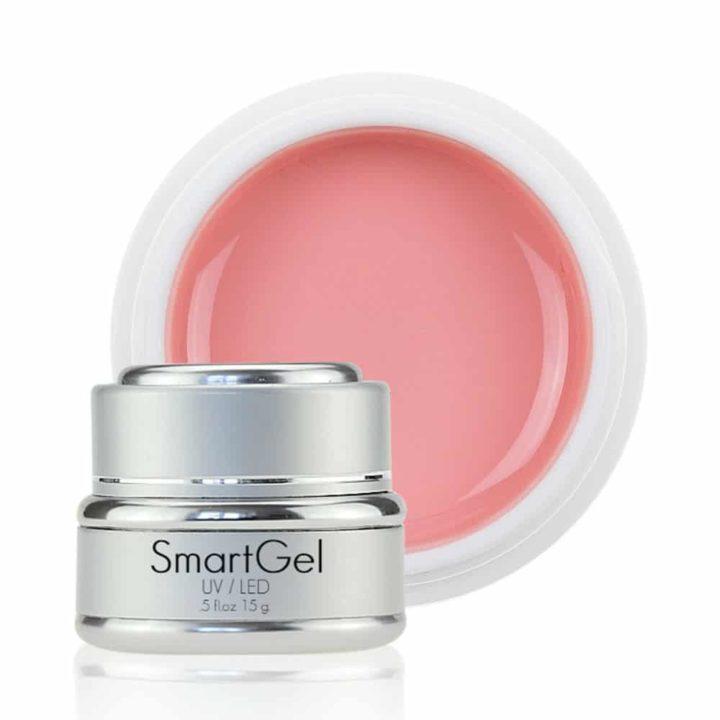
Gel - the gel has a more viscous, liquid consistency and does not need to be mixed with any other additional materials. The gel can only dry and harden under ultraviolet rays.
Building materials
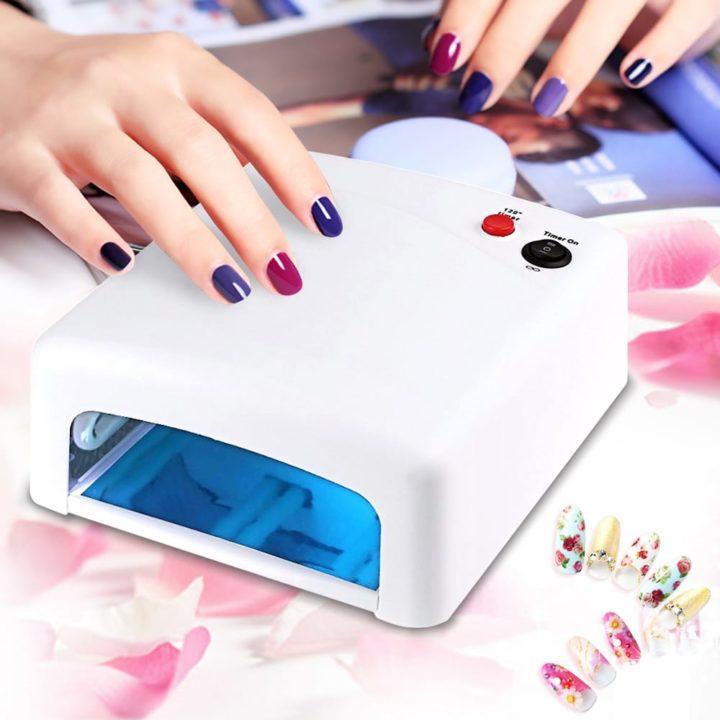
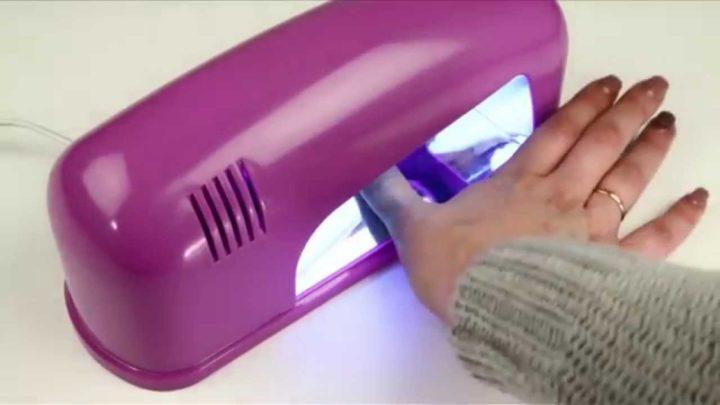
First of all, you will need an ultraviolet lamp, without which you simply cannot dry your nails.
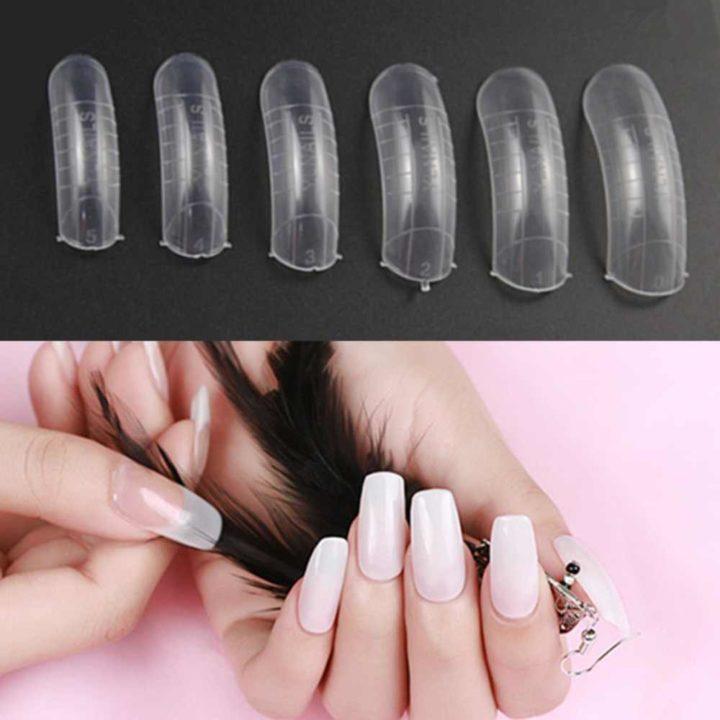
You will also need a cuticle spatula, a file with an abrasiveness of 180 grit, tips (these are the forms on which nails will grow), special glue, gel brushes, and tweezers.
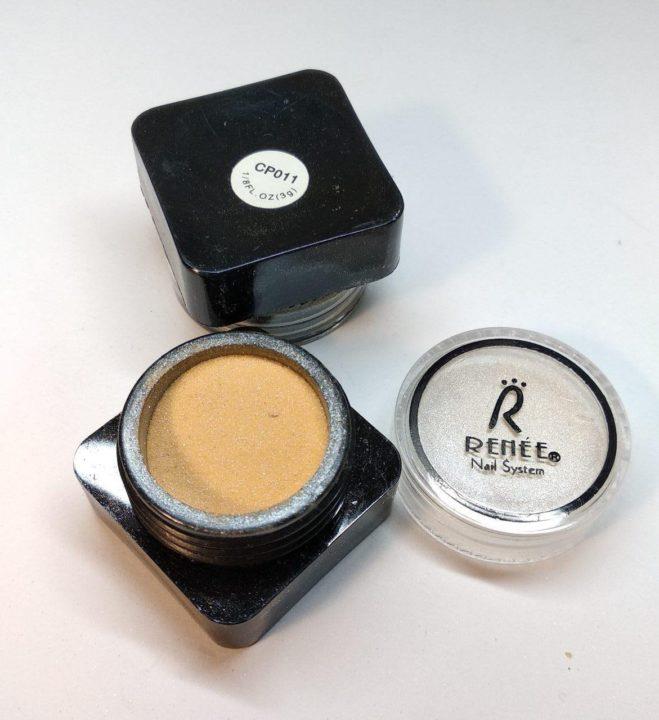
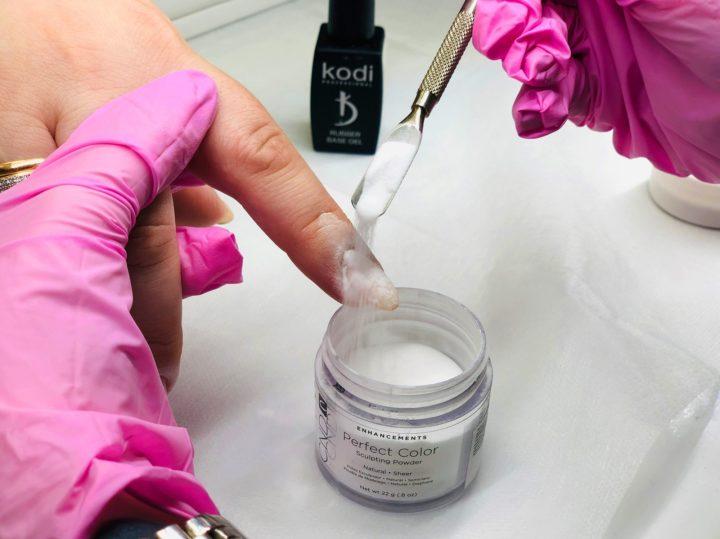
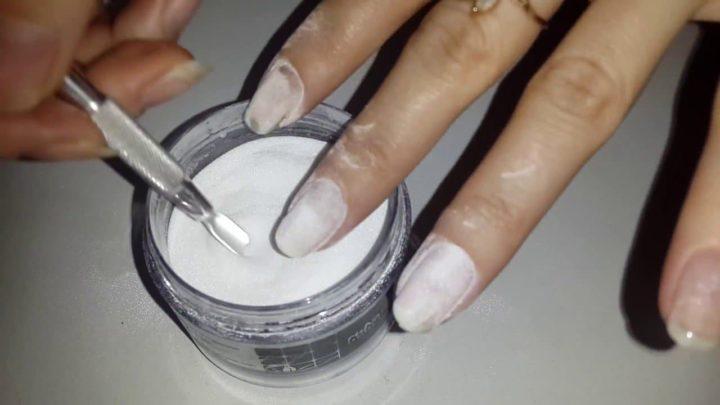
You also definitely need an antiseptic, a dehydrator (dries out the nail plate), a primer (allows you to create better adhesion of the gel to your nail), a bonder, the gel itself, a finishing top, a remedy for the sticky layer that always remains after nail extension, as well as scissors for tips ...

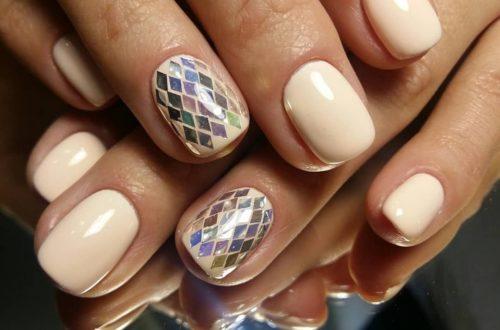
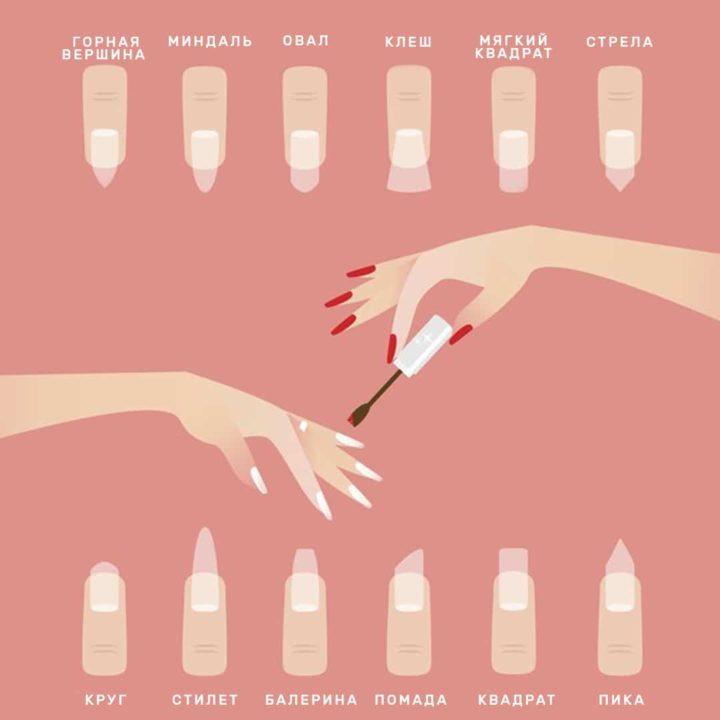
Nail shape
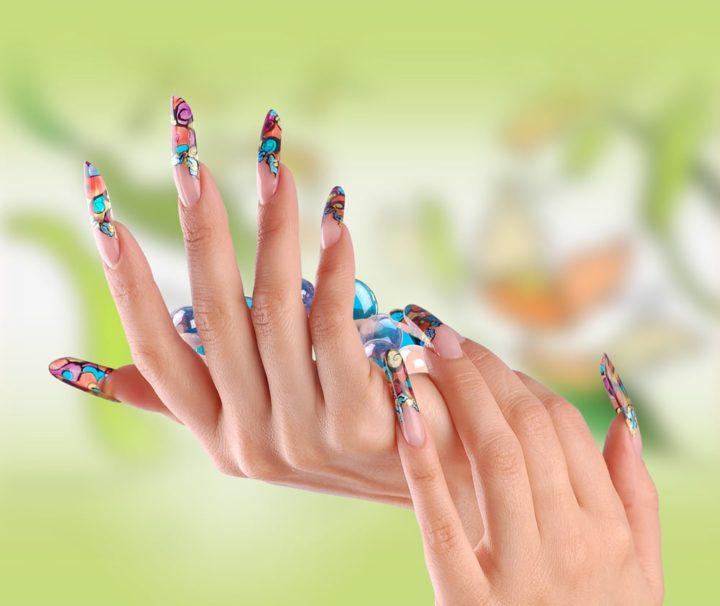
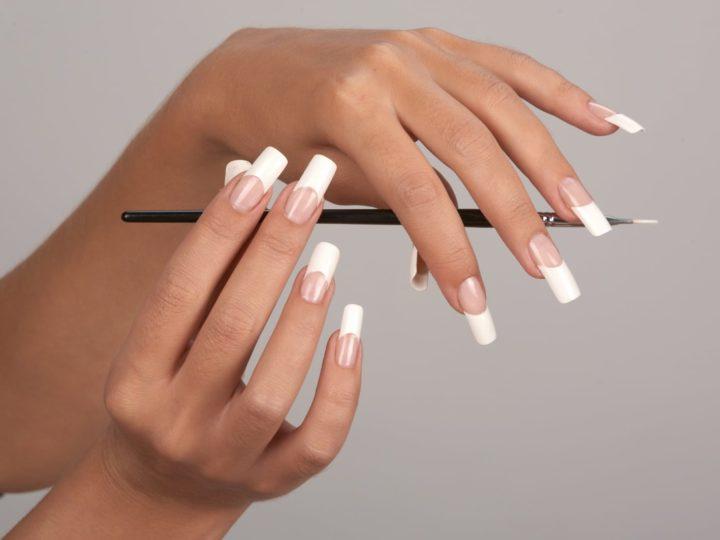
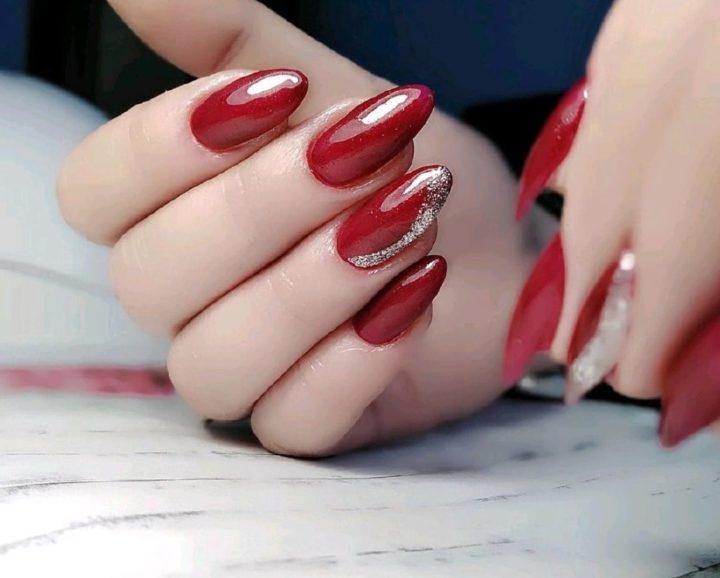
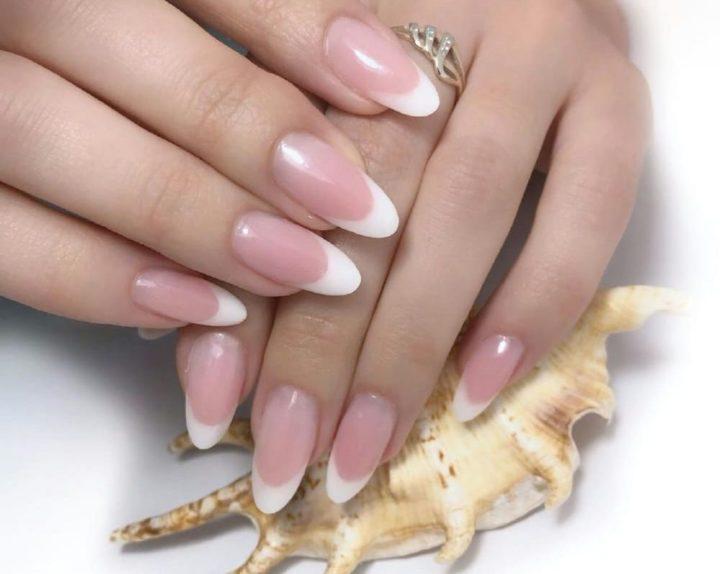
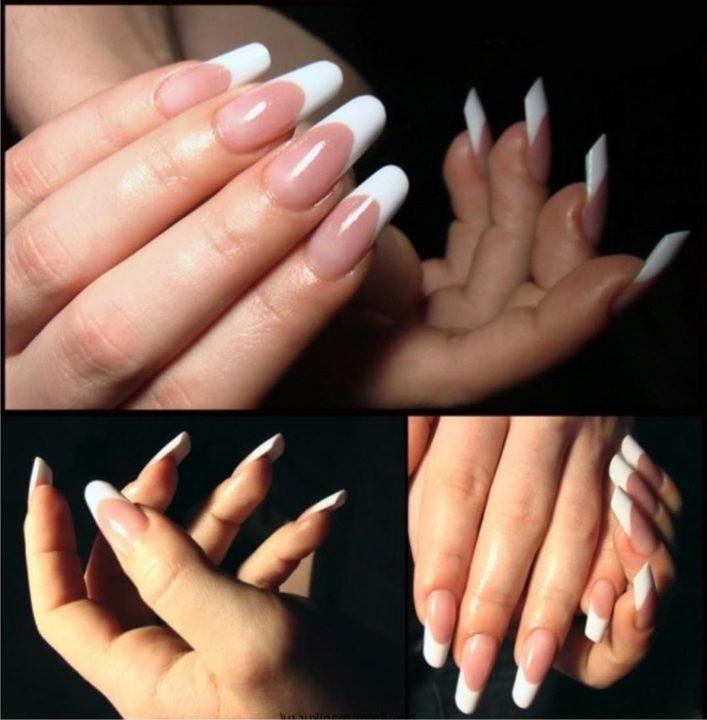
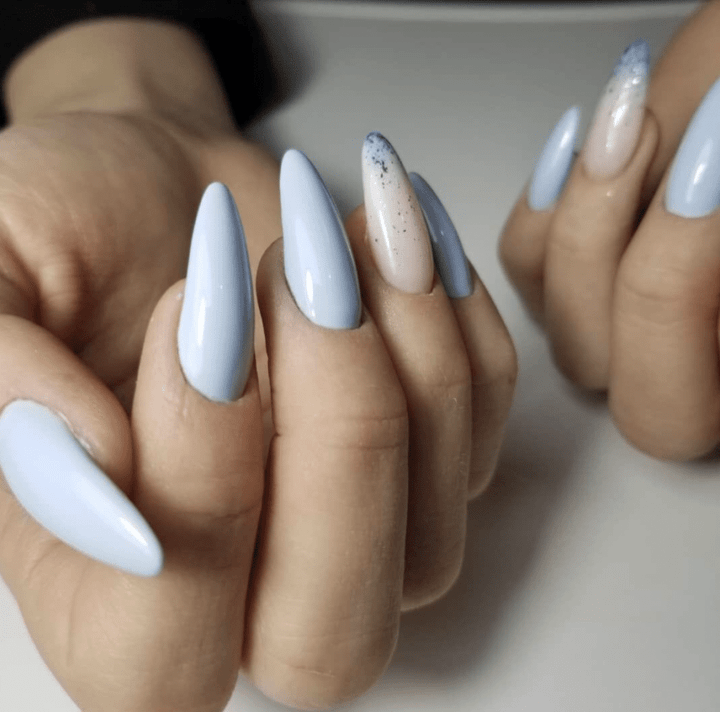
Now it's time for you to think about the shape of your future nails. What, firstly, do you want the length, and then select the shape. There are not so many forms, of which two types are distinguished: classic and original.
Classic
- Square, rectangle, soft square, oval, almond, round, mountain peak.
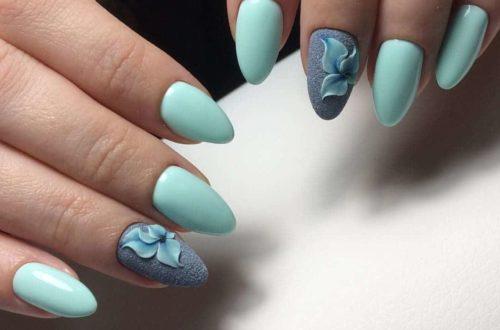
Original
-
Edge, stiletto, pica, lipstick, ballerina, flare, arrow
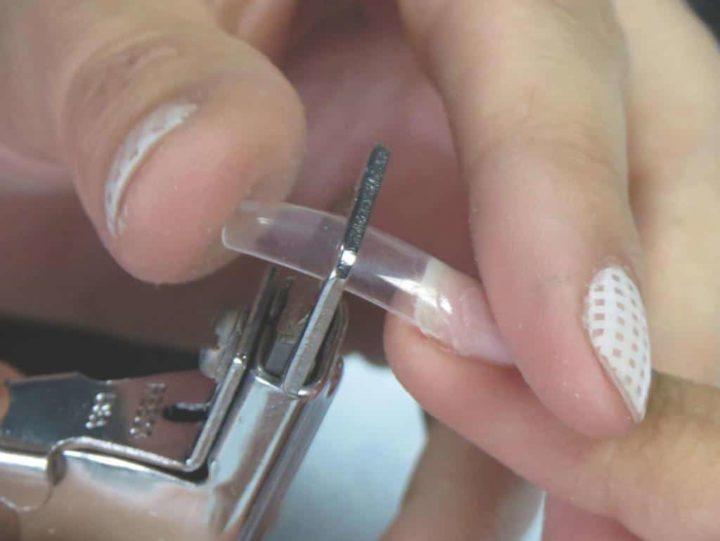
We carry out building on forms (tips)
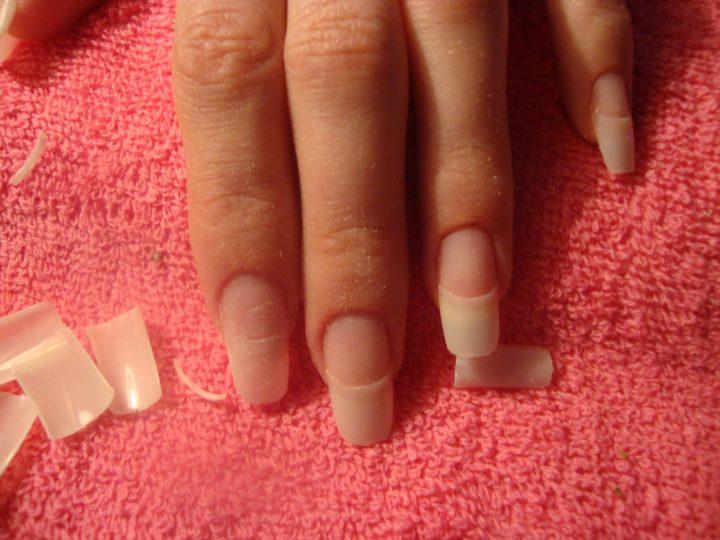
To fit the tips to your chosen shape you need to use a tip cutter. After all, the tips themselves are very long and not everyone needs such a length. Then, using a nail file, we give the tips the shape you need.
Then we start working with the nail plate. Gently push the cuticle away from the nail bed, and ideally, you will do a classic manicure. After that we give shape to our already marigolds. The shape must match the shape of the tips.
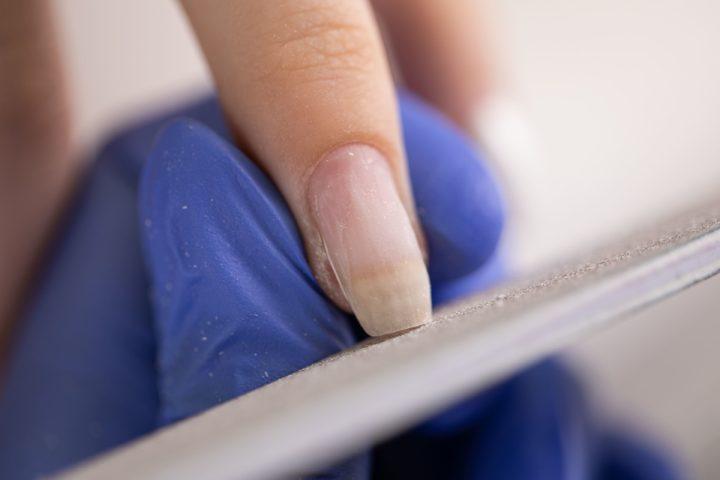
We do not forget that each instrument must be disinfected before use. Then take a nail file and carefully cut off the top, shiny layer. The movements of the file should be directed in one direction. Try not to apply too much pressure to the nail so as not to damage it when cutting off the shiny layer.
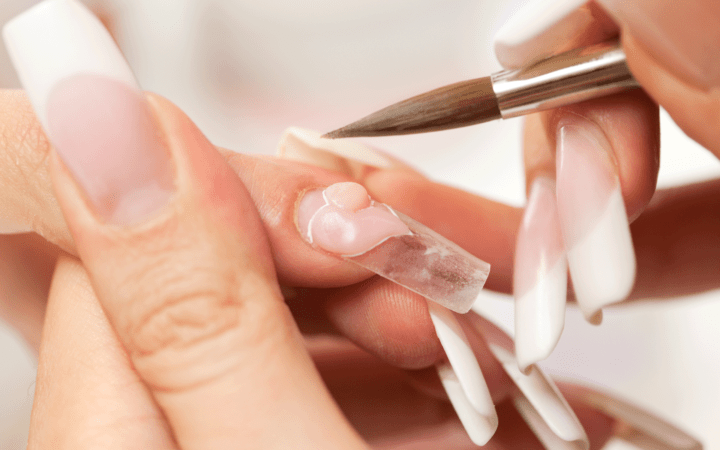
Treat after nails with an antiseptic, and then apply dehydrate to dry the nail plate. Now take your prepared tips and apply a little glue to them so that it is distributed over its entire surface, which you will use to glue it to your nail.
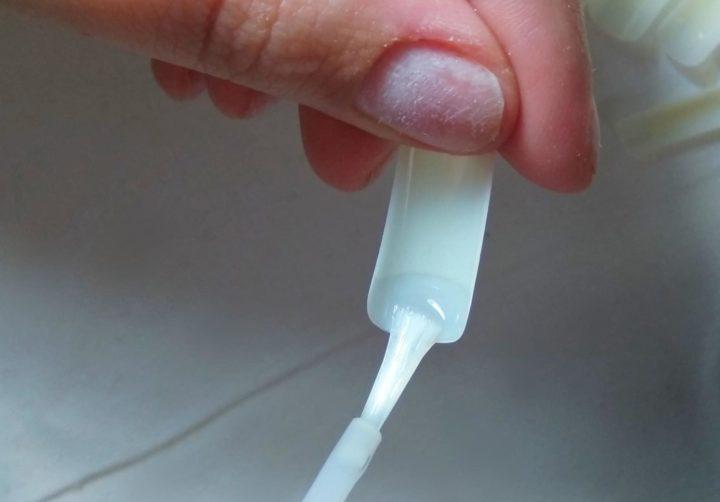
After the tips, it is worth pressing firmly against your nail so that the glue seizes. Then apply a bonder to the tips and hold your nails in the lamp for a couple of minutes. Now apply a drop of primer to the tips and go to the gel step.
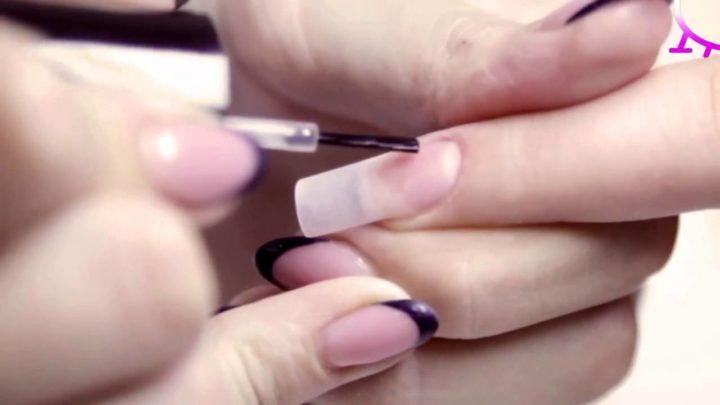
Take a brush and apply a large drop of gel to the tips, which immediately spread gently over the entire surface. The distribution should go from the center to the edges so you can apply the gel evenly. First, apply the gel on several fingers and dry in the lamp for at least two minutes, and after another two, and dry again. Always dry large nails last.
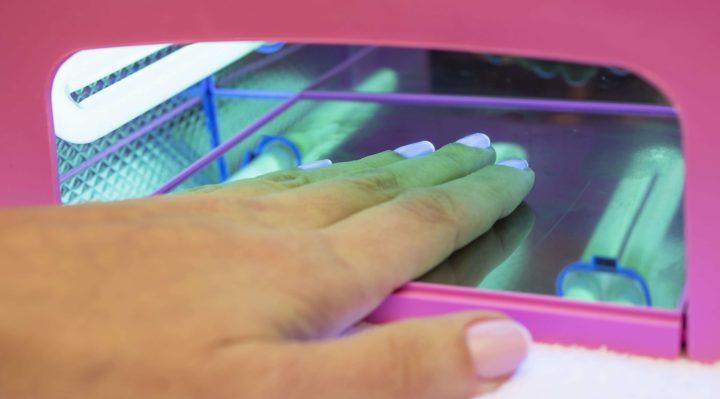
Then, when the gel has already taken on your nails, you can remove the sticky layer, and then cover the nails with a finishing top. Dry again under the lamp for two minutes and your nails are ready.
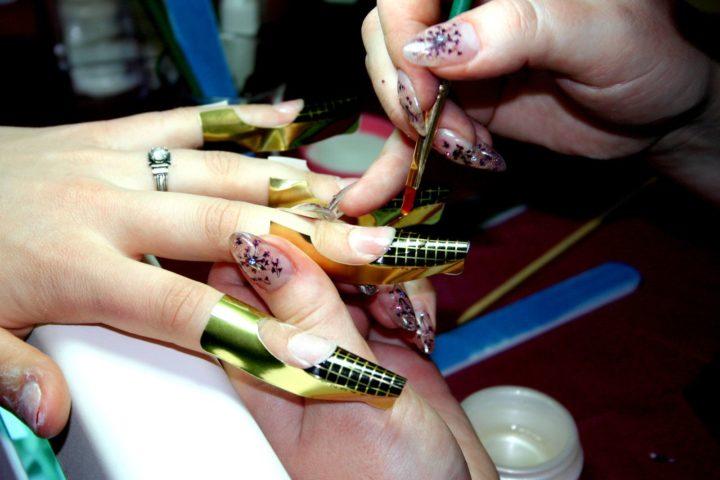
Extension of nails on forms
In specialized stores you can find nail extension forms. It is the forms that are most often used by masters in salons, since with them the nails are as natural as possible.
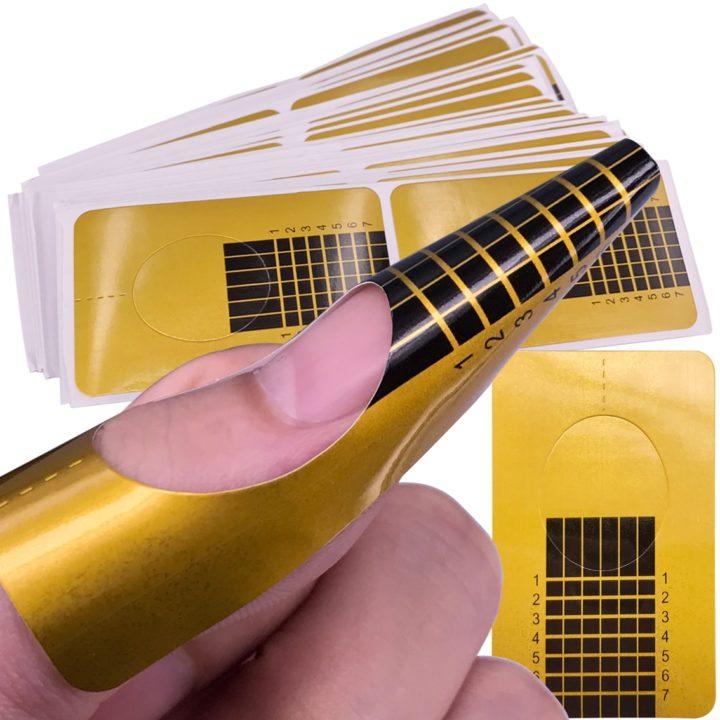
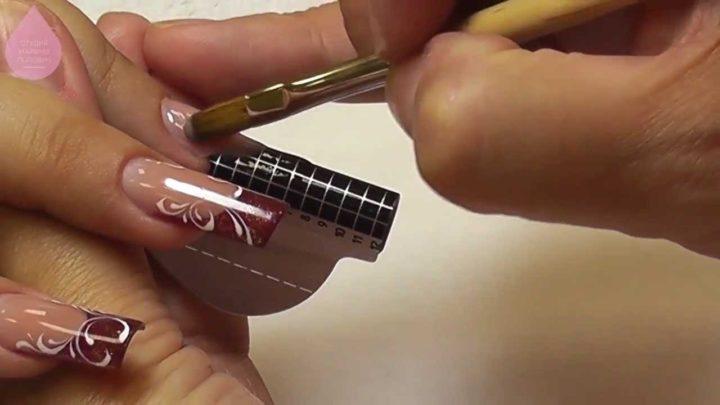
You should do all the same manipulations that we described above (preparing the nail and shaping it). Each such form has a hole for the finger. The shape breaks at the beginning so that it snaps into place at the tip of the finger, just under the nail. You must fit it tightly under your nail, and then fix it. It is fixed very easily thanks to the sticky edges.
Each such form has a scale for the length of your future nail. You can easily determine what length you want and remember the border by number. Extend for a couple of nails first to make it more comfortable for you.
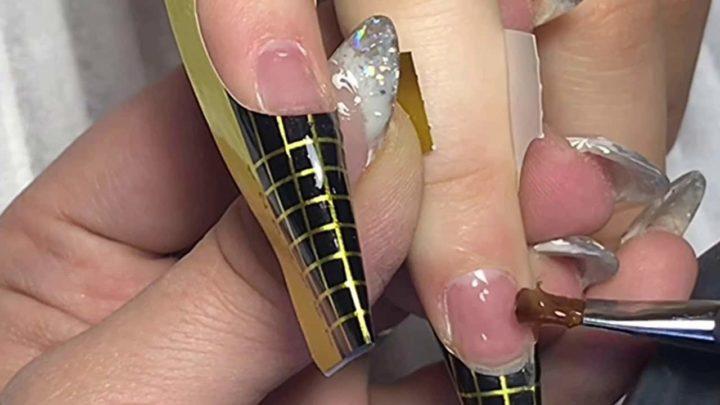
Take the gel with a brush and apply it to your nail. Then gently spread the gel over the mold to the length you need. And also from the center we distribute the gel on the sides. To make it more convenient for you to check if the gel lays down correctly, turn your finger over and pay attention to the shape. Thus, it will be much more convenient for you to correct the unnecessary or supplement the necessary.
It is worth drying the marigolds under the lamp for 2 minutes. Remember to work with your thumbs last. Do not be alarmed if the gel in the lamp starts to bake your nail plate, you can pull out the handles for a second and then put them back into the lamp. This is a normal reaction to material freezing.

When the extension is complete, then remove the sticky layer from the nails and cover them with a finishing top. Dry your nails under the lamp again and voila! The marigolds are ready.