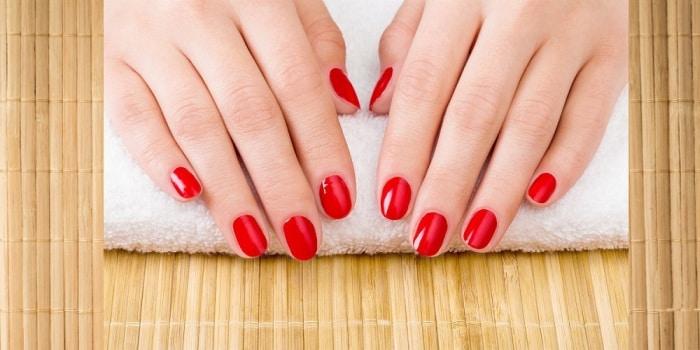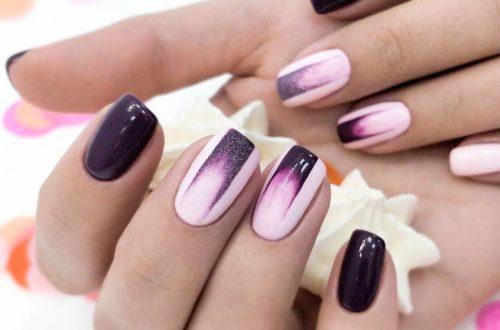
Manicure for beginners: how to make a gel polish manicure and not make mistakes
Manicure gel polish is at the peak of its popularity and many women began to think about how to learn how to do it on their own. It is not always convenient to go to the salon, especially if your schedule is very changeable and it is problematic for you to sign up in advance. In addition, doing a manicure at home is much cheaper than constantly visiting the salon. If you are just going to master the art of applying gel polish, you will need careful preparation.
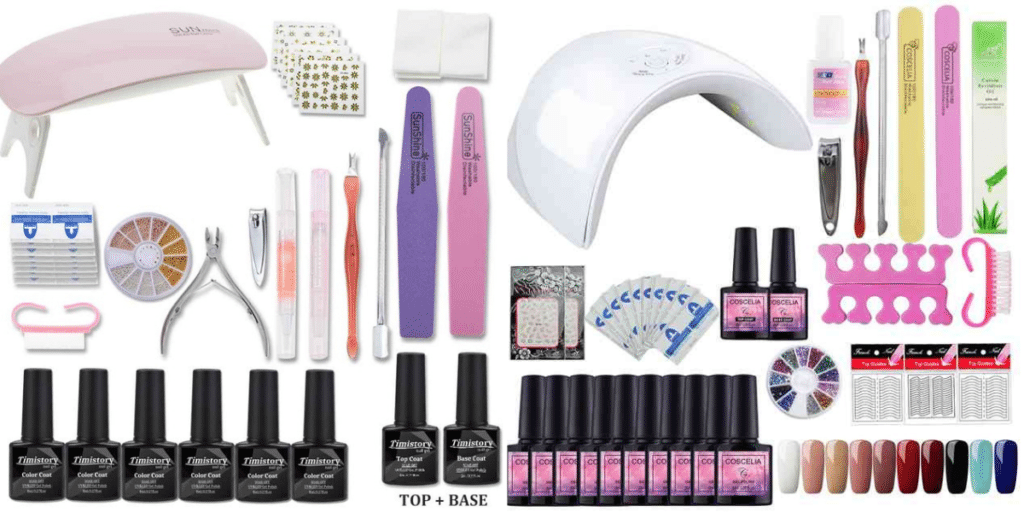
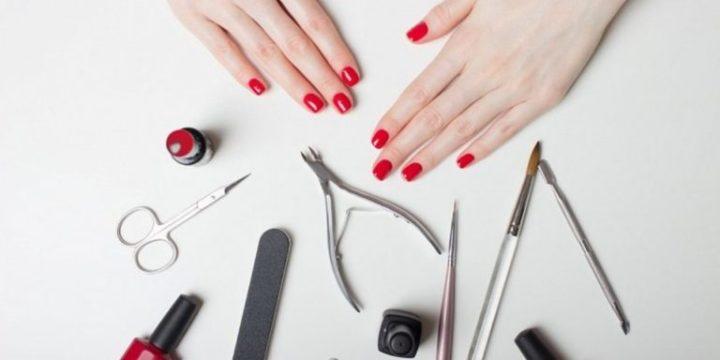
Inventory
First, you need to purchase everything you need. You will need:
- Basic manicure set;
- Nail files;
- Buff;
- Lint-free wipes;
- Cuticle oil;
- Orange sticks;
- Gel polish;
- Top, base, primer, degreaser;
- Lamp
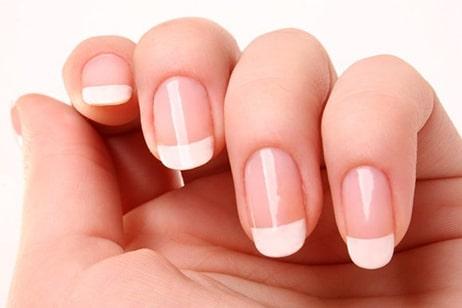
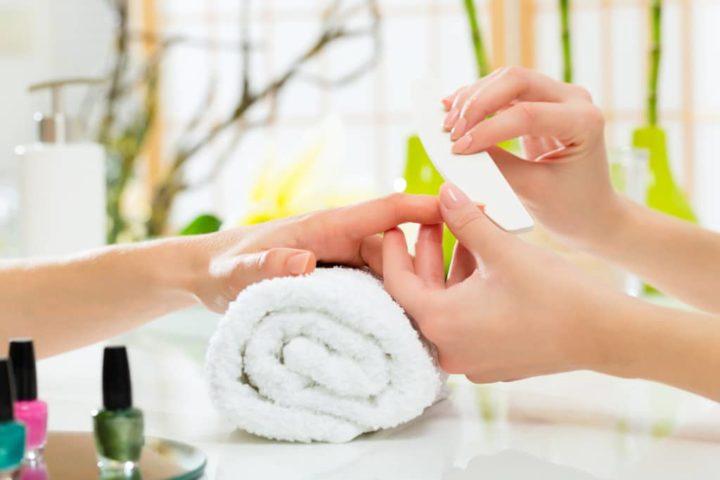
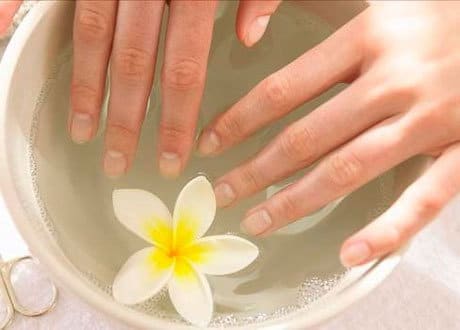
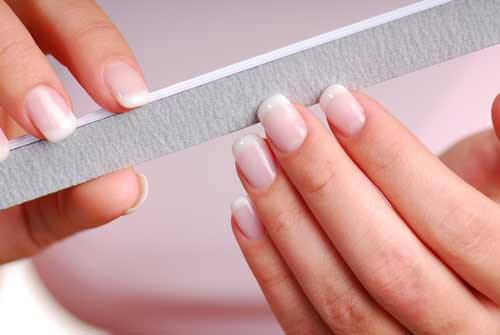
Preparation
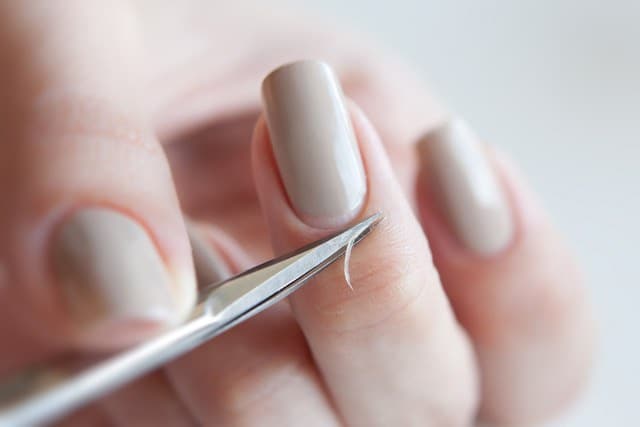
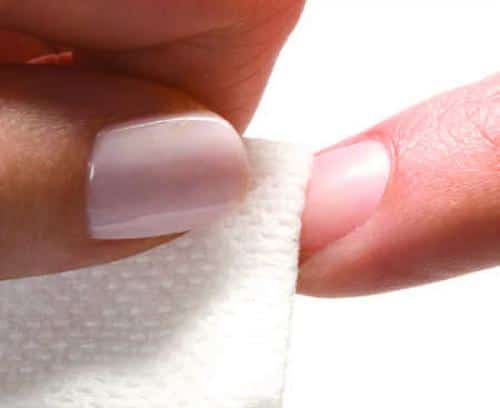
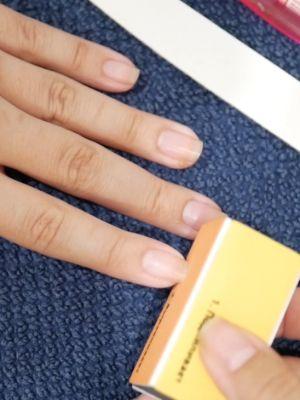
Before applying the gel polish, you need to prepare your nails. First, do a manicure, give the desired shape to the nails, remove the cuticles. When the nails are ready, take a buff and treat the nail plate with it, this is necessary for better adhesion of the gel polish to the nail. Then take a degreaser and use lint-free wipes to treat your nails. Remember that after this, you should not touch the nails with your hands or do anything with them, so it is better to prepare all the materials you need in advance.
Applying gel polish
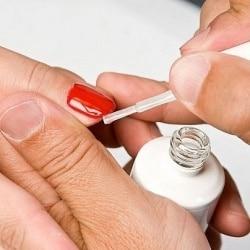
- First of all, apply a primer to the nails, it is necessary for a good bond between the gel polish and the nail plate. In addition, it removes all the fat from the nail. In some cases, you can do without a primer, however, if your nails turn oily quickly, then it is better not to skip this point.
- Then, apply a base coat. You need to apply it in a thin layer, gently spreading it with a brush over the entire nail. Make sure that the base does not spread, remove the excess with an orange stick. Remember to brush over the end of the nail, this way you will need to seal each coat to avoid chipping, and then lamp dry.
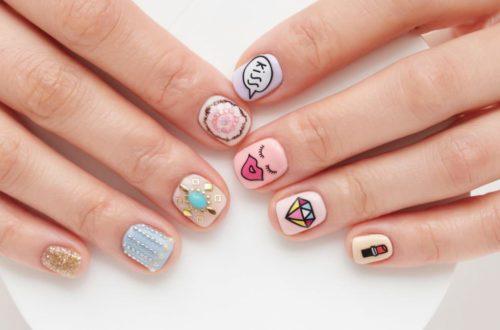
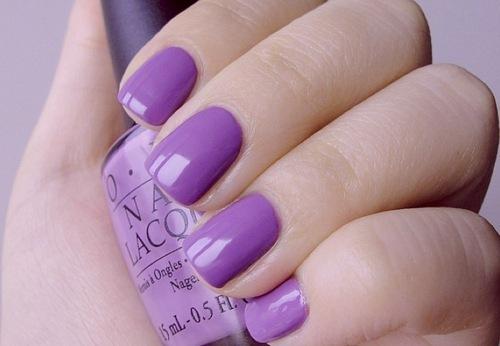
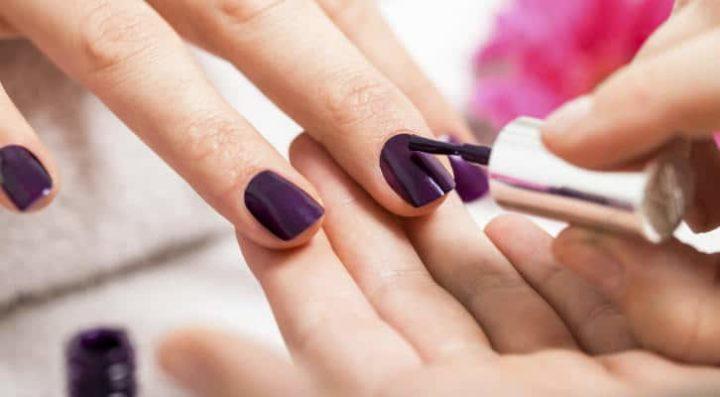
- When the base is dry, take an orange stick and with its help, move the cuticle, only then start applying the gel polish. For the first time, it is better to try just a solid color, and when you learn, you can start designing. Like the base, apply the gel polish in a thin layer, without going beyond the boundaries of the nail plate. Seal the layer and send to the lamp.
- Apply one more layer (if necessary, there may be more layers) of gel polish. Try to even out the color so that it is even. Seal and ship to lamp again.
- When the gel polish has dried, proceed to the final stage of the manicure - top coating. The top will give your nails a shine and provide reliable protection from the external environment. Apply it very gently so that it does not run. Remember to seal and dry. If you have a top with a sticky layer, use a remover and lint-free wipes to remove the sticky layer and apply oil to the cuticle. Your manicure is ready!

Advice
If you want your coating to hold well, you must understand that for this you need to complete all the points above. The cover will not hold up without a base or top, or if they are reversed. Also, your gel polish will peel off quickly if you don't seal the ends of your nails.
We will reveal to you some secrets of successful application of gel polish.
Life hacks
- So that the gel polish does not spread, immediately after applying it, turn your finger over so that the nail is at the bottom, the coating will even out and not spread.
- It is best to paint and dry one nail at a time, then the coating will not have time to spread and lose its shape.
- When you dry the top, do not rush to turn off the lamp, dry it a little longer than necessary, then it will retain its shine longer.
- Do not remove your nails from the lamp on, always turn off the lamp first and then reach your hand, this also contributes to the shine.